2026 How to Install a Silicone Radiator Hose Kit for Your Vehicle?
Installing a Silicone Radiator Hose Kit can elevate your vehicle's performance and durability. These hoses endure high temperatures and resist wear better than standard rubber hoses. The process is straightforward, but proper knowledge is crucial for a successful installation.
Many car enthusiasts appreciate the flexibility of silicone hoses. Yet, not every vehicle is the same. You might face unique challenges based on your specific model. Be prepared to adapt your approach as necessary. Gathering all the required tools before starting is vital. This reduces frustration and ensures a smoother process.
Ultimately, while the Silicone Radiator Hose Kit offers numerous benefits, installation requires focus. Small mistakes can lead to significant issues later. Engaging with online forums or communities can provide valuable insights. Sharing experiences can guide you toward a successful installation.
Understanding Silicone Radiator Hose Kits and Their Benefits
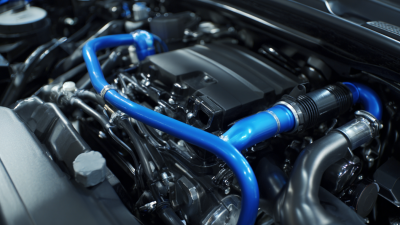
Silicone radiator hose kits are becoming increasingly popular among vehicle enthusiasts. These kits offer numerous advantages over traditional rubber hoses. One primary benefit is their durability. Silicone hoses can withstand higher temperatures and pressures. This quality makes them exceptional for performance vehicles.
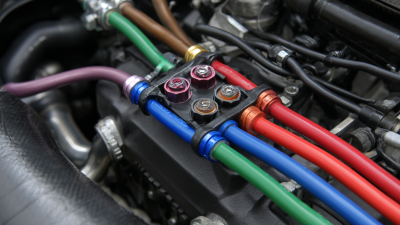
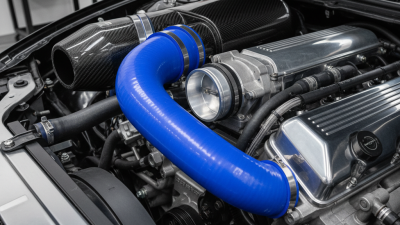
Another advantage is their resistance to chemicals and wear. Unlike rubber, silicone does not degrade as quickly over time. This means a longer lifespan, even under harsh conditions. In addition, silicone hoses come in various colors, allowing for a customized look under the hood. This aesthetic appeal can enhance the overall appearance of a vehicle's engine bay.
However, not everything about silicone hoses is perfect. Proper installation is crucial for optimum performance. If not installed correctly, leaks can occur. They may also require different clamps than those used for rubber hoses. It’s essential to evaluate the specific needs of your vehicle before making changes. A little reflection on your installation skills can go a long way. Consider seeking professional help if unsure about the process.
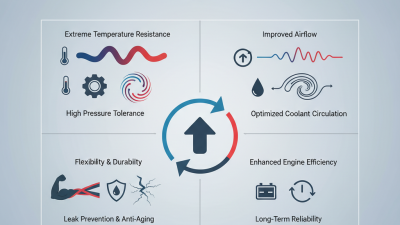
2026: Silicone Radiator Hose Kit Installation - Benefits Overview
This chart represents the benefits of installing a silicone radiator hose kit for vehicles. The scores reflect the advantages of temperature resistance, flexibility, durability, weight reduction, and cost efficiency.
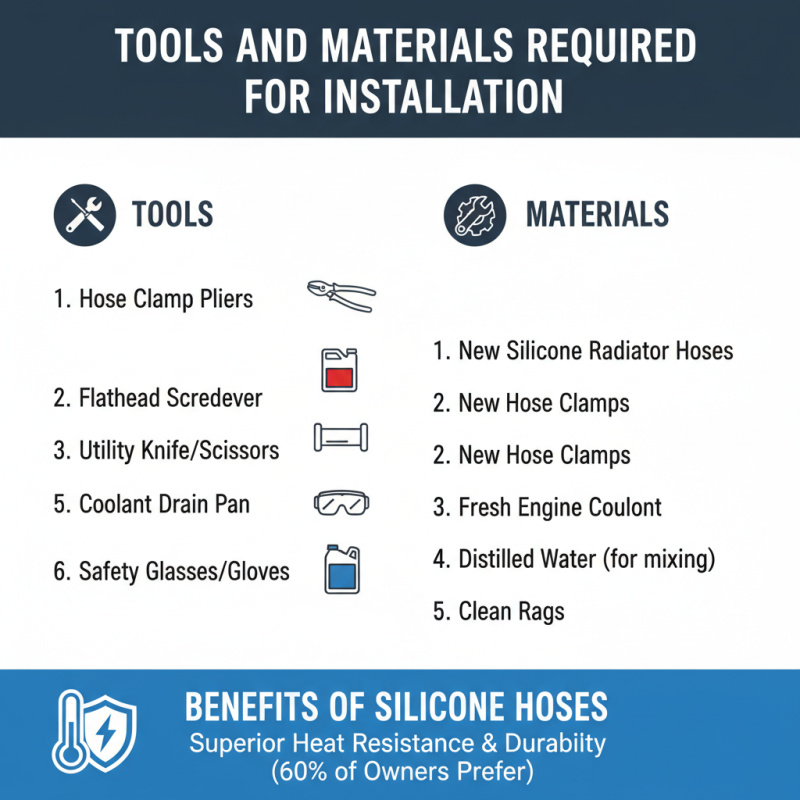
Tools and Materials Required for Installation
Installing a silicone radiator hose kit enhances a vehicle's cooling efficiency. To carry out the installation effectively, it’s essential to gather the right tools and materials. A recent industry report highlighted that over 60% of vehicle owners prefer silicone hoses for their superior heat resistance and durability compared to traditional rubber hoses.
To begin, you will need a set of basic tools. A socket wrench set is crucial for loosening the hose clamps. A pair of scissors or a hose cutter ensures a clean cut for your new silicone hoses. Additionally, a flathead screwdriver can assist in removing stubborn clamps. Many enthusiasts also recommend using hose pliers for easier handling. This selection of tools reflects a standard practice among mechanics, indicating the necessity of effective tools for a successful installation.
Materials that complement your installation include the silicone hose kit itself and new hose clamps. Ensure that the hose dimensions match your vehicle specifications. It's frustrating to realize too late that the hoses are incompatible. Regular checks on your vehicle's cooling system can prevent such errors. According to the Automotive Service Association, more than 30% of vehicles experience cooling system failures, often due to poorly installed or degraded components. Thus, attention to detail during installation is vital.
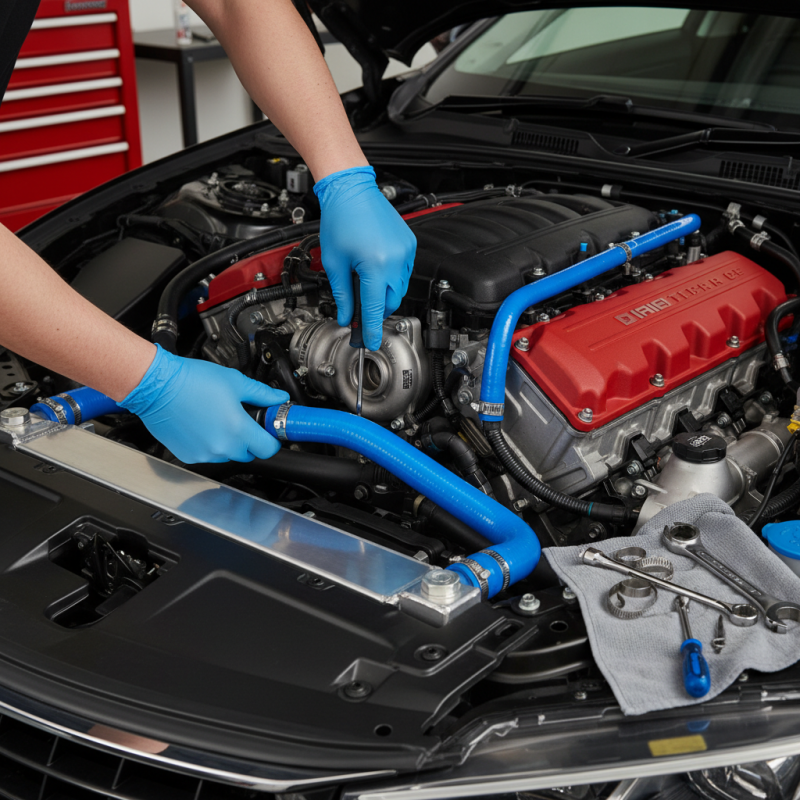
Installing the New Silicone Radiator Hoses
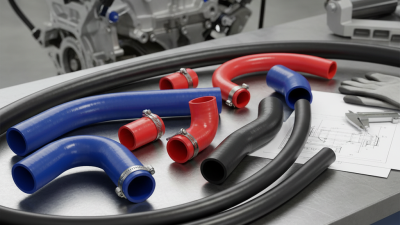
Installing new silicone radiator hoses can enhance your vehicle's cooling efficiency. These hoses resist high temperatures and provide better durability than rubber alternatives. They are often more flexible, making installation easier. When you decide to upgrade, ensure your vehicle is on a level surface. This prevents coolant spillage during the process.
Begin by removing the old hoses carefully. Use a pair of hose clamps and pliers. Pay attention to the condition of the clamps; if they're worn, consider replacing them. Once these are off, use a rag to clean and inspect the radiator inlet and outlet. This step is crucial for a secure fit. You don’t want any leaks.
Next, it's time to install your new silicone hoses. Align them properly and make sure they fit snugly. Sometimes, they may not fit perfectly at first. Give them a gentle twist to ensure they seat correctly. After installation, double-check the clamps to secure the hoses. It's easy to overlook this step, but a secure connection is vital to prevent any leaks. Consider running the engine and checking for any coolant leaks after installation. This step can reveal any issues before on-road use.
2026 How to Install a Silicone Radiator Hose Kit for Your Vehicle? - Installing the New Silicone Radiator Hoses
| Step |
Description |
Tools Required |
Time Estimate |
| 1 |
Gather all necessary tools and materials. |
Socket set, screwdriver, coolant container |
10 minutes |
| 2 |
Drain the cooling system. |
Coolant collector, wrench |
15 minutes |
| 3 |
Remove the old hoses. |
Pliers, cutting tool (if necessary) |
10 minutes |
| 4 |
Install the new silicone hoses. |
Socket set, torque wrench |
20 minutes |
| 5 |
Reconnect the cooling system and refill with coolant. |
Coolant, funnel |
15 minutes |
| 6 |
Check for leaks and ensure proper function. |
None |
10 minutes |
Final Checks and Maintenance Tips After Installation
After installing your silicone radiator hose kit, it's essential to conduct final checks. Start with a visual inspection. Ensure all connections are secure. Look for any signs of leakage. A tight fit is crucial for optimal performance.
Next, run your engine and monitor temperature levels. Pay attention to any unusual sounds or high temperatures. If you notice anything abnormal, revisit your installation. It’s easy to overlook small details that can lead to significant issues later.
In terms of maintenance, regularly inspect the hoses for wear and tear. Even silicone components can degrade over time. Clean the hoses periodically to prevent build-up of dirt and oil. Keeping your system clean ensures longevity. Remember, neglecting these checks can result in costly repairs down the line.
Tip: Use a torque wrench to ensure proper tightness on all connections. This step can prevent leaks.
Also, consider recording the installation date and any checks performed. This documentation aids in maintaining an effective maintenance schedule.